OK, now for something completely different, something useful, one possible way to fix a mechanical keyboard that has a dead set of keys. This was a Razer Stealth Ultimate, pre-damaged by drink spillage. Initially I thought there would be dead key switches that I could de-solder and replace. However it was a column, plus some extras that had failed, i.e. QAZWER Tab etc. This rang alarm bells, a track on the keyboard matrix grid is dead. I know mechanical keyboards are built so that all the keys may need removing to repair such a broken track if it is on the top side of the circuit board.
So it was time to open it up. First came the hidden screws. Needed to take the covers off evenly, which I did not, hence the broken left clip cover. Other screws were under the rubber feet. Next one has to force the clips on the sides (using a flat plastic tool), shown in the photos, and then force the whole top half forwards whilst pushing against yet more clips on the front.
 | |
| Oops! I broke a clip! |
There are more screws at the top holding the cable in place, after unscrewing these, it was just a case of pulling the board out, taking care not to damage the Razer logo led that hangs of the bottom and sits in the white box at the front.
 |
| Left Clip Tabs |
 |
| Right Clip Tabs |
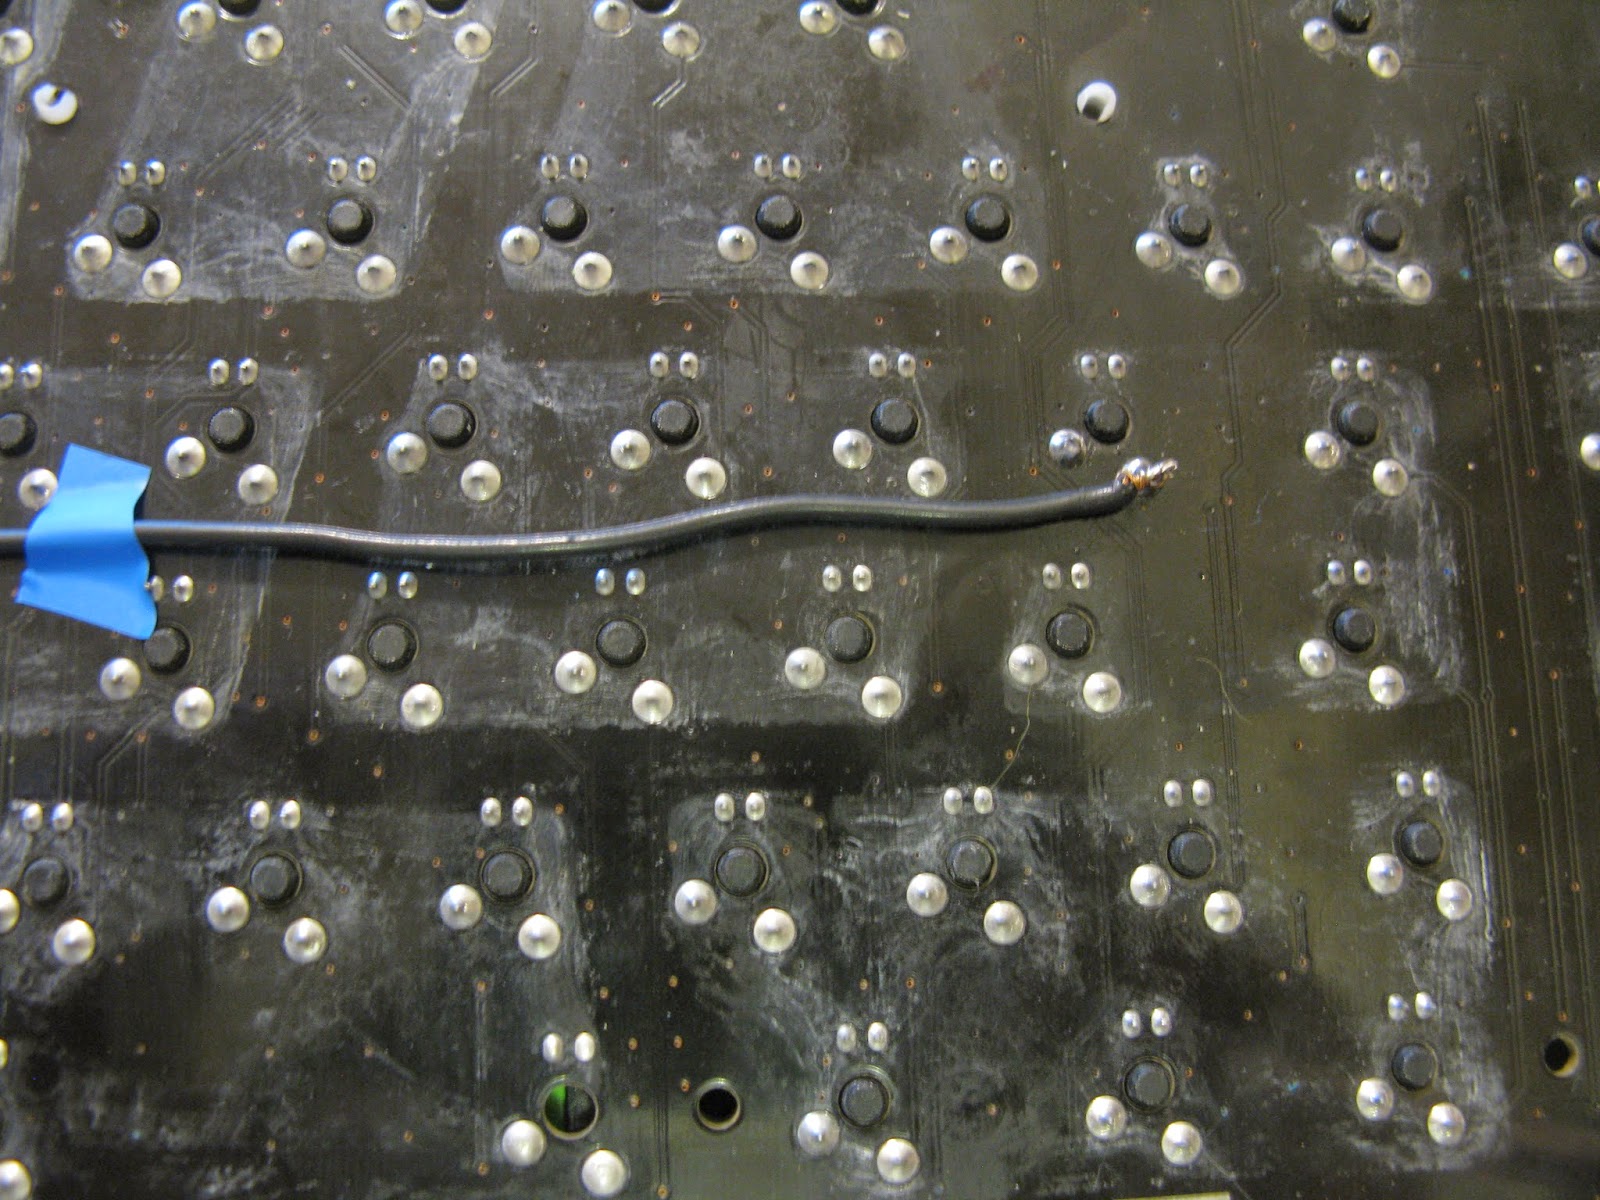
So looking at the back, the task looked daunting, de-solder that many joints? About 122+ keys, with an LED too, so that’s about 500 odd solder joints, ouch! So I engaged my brain, which works quite well when put to use, and thought, obviously a track has been blown, so why not bridge it to complete the circuit in the opposite direction? Starting with what I assumed was the starting point of the failure, the Q key, used a pair of scissors to make a join and then press a key on the other side. The results were interesting, and wrong. I tried looking on the web for a picture of the other side (top) of the circuit board, but found none; that would have given an instant answer. I thought maybe this just won’t work, but persevered and soldered a wire to the Q key switch and continued my testing, as the scissors couldn’t reach past half way on the motherboard.
 |
| The back of the board. |
One mystery, what is that white gunk that appears to cover sections of the board, it was dry, and didn't rub off? Um, no idea. Eventually, eureka! I found the connection required, it was the ‘1’ key on the numeric pad that completed the circuit! So I then used a shorter thinner, single core wire to link the two points. Voila, it was done. All worked fine.
 |
| This is the Q key's switch. |
 |
| Cable to numeric pad '1' and the LED bridge cables. |
There was also a dead LED, on the numeric pad. I tried to de-solder it with my daughter holding the other end with tweezers, the idea being that we’d remove it by melting the solder on one leg whilst pulling on that side and then doing the same on the other side, hence side to side wiggle it out. It didn’t work, I felt I was going to destroy the board and stopped. Later I saw some videos that suggested the one should heat both pins simultaneously by putting the soldering iron across both solder joints. Maybe that would have worked. However some more wire testing showed the LED to be working, so I simply bridged it from the one above, it all worked tickety boo.
So that was it, a successful repair. Alas after spending a few day with it, we parted company with the keyboard as the feel of the keys wasn’t quite what we were after, as per my previous blog entry
No comments:
Post a Comment